Monday, November 19, 2012

Updates to our Abode

We've lived in our house almost 3 months now.  Thats long enough to have unpacked the things we really need and to realize that a box of framed pictures that need to be hung to "decorate" isn't really critical to daily life.  Eventually...on a Saturday when I wouldn't rather be cooking or crafting, maybe that kind of thing will happen.

In the meantime, there were a few other things that needed to be done to spruce up the place.

It started with a marathon shopping day and a car full of stuff looking like this:


Ikea!
I assembled some shelves for our laundry room. One shelf is at a bit of a slant...oh well, what can you really expect from $40 at Ikea?  It does the job that is needed.   

Bonus: A full laundry basket of "Hey Zach you should put those away" clothes fits on  the middle shelf!

I also got a microwave cart for the kitchen, opening up coveted counter space for my mixer. (I may or may not have kneaded/made bread using my mixer on the floor prior to this day. I'll never confess.)


And on the left, you can see our new bar-height kitchen table. We have space for a formal dining table in the living area (if we hadn't broken it.) This is doing a great job as homework-spot and table while we avoid dealing with the dining table situation.

Its beginning to feel like home! I won't show you how I've trashed the guest room with craft projects. Its too embarrassing.  But if you come visit, I promise to completely clean it up 100% so you have a place to stay! 


Thursday, November 15, 2012

Its time for Fall! {YUM}

We had a smidge of brisk weather the other day and I quickly forgot the 105 degree temperatures of summer and immediately started to complain about the cold.  What can I say? I am weak.  Anyhow, I am excited that soups are now back in style for supper, now that it is cooling off.  Recently we had our favorite tomato soup (recipe here) and knock-off Red Lobster cheddar bisctuits (from here). YUM.


What are you cooking now that it is cooling off????

Tuesday, November 13, 2012

The time of year where I post a whole bunch (before I disappear again)

I haven't had much to write lately. I thought my life wasn't interesting enough to write about. What was interesting, I instagram'd. (Follow me there! I'm kind of obsessed!)  But, I went through some pictures and decided, I really might have a few interesting things to post for the 3 readers left who still have me in their blog reader, plus my Grandparents, who read occasionally.

So here I go again!  Today's post is just about a really simple gift bag re-do.  This is actually a Banana Republic bag (and it was printed on the bottom of the bag.) But I have a bit of an obsession with saving handle bags and not so much an obsession with re-using them, so I'm trying to get in the habit of actually USING the things I "collect" so I don't become a hoarder.

So I had some cute black and white fabric that already had some iron-on stuff on the back. (Extras from another project to be posted soon.)  I peeled off the back of the Wonder-Under (I got mine at the fabric store for a couple bucks a yard) and then just easily ironed onto the bag, applying pressure for about 5 seconds (shorter than for ironing onto fabric.)  I had to quickly re-open the bag and make sure I didn't burn the rest of the paper bag, but it seems pretty secure.

 After that, I took a couple of painted wooden decals (From Jo-Ann's, abotu $.50 each) and glued them on either side of the bag, just to make it look a little more festive.
I'm having a bit of trouble with this second picture, but its the back of the bag (same bottom fabric, and a ladby bug embellishment instead). 

The whole project took 5 minutes and I spent $1 to make a cute gift bag.

Saturday, September 1, 2012

More giant life updates

My last post was about July...I was also in an awesome wedding (no pictures, for some reason I never take pictures when I'm in the bridal party) and I also got to meet up with my friend Emily and her family and finally meet her 2 girls! I DO have pictures from that, but I just uploaded a bunch of house things and apparently missed those ones and I'm not going to go through it again so you'll have to check here: click   Summary: Amazing visit, and Emily's youngest daughter (who ended up being a close pal by the end of the day!) nearly choked on her cookie and got the heimlich mid-meal, which terrified me...but she swallowed cherry pits with ease.  Visits with Emily are always amazing. I'm so thankful she is in my life, even if the last time I saw her was 2 kids ago!

Since July, we've been a tad busy -- moving and all!  We said farewell to our Sunnyvale friends with a Matador-themed farewell party (The Matador's are Zach's school's mascot).  Then we vacated our house, putting all of our belongings into a POD, headed down to So Cal, shopped for a rental for a while, got keys last week, and finished moving in our stuff (with help) today. And now onto far more interesting pictures.

A few party hosts - my "cooking club" complete with the Matador costumes

Our POD, loaded to the gills (we put a few more things in after this)

Mongolian BBQ Birthday Dinner - last hurrah in SJ

First glimpse our new house! (See the "Z" in front? It was a sign  that this is our house!)

Had to rudely vacate a few squatters near the garage.  We have an orange tree (yessss!!!) but apparently they lure these buggers, so...we have 2 cans of yellow jacket spray now.

Living Room: Day 1. Fridge acquired from garage sale.

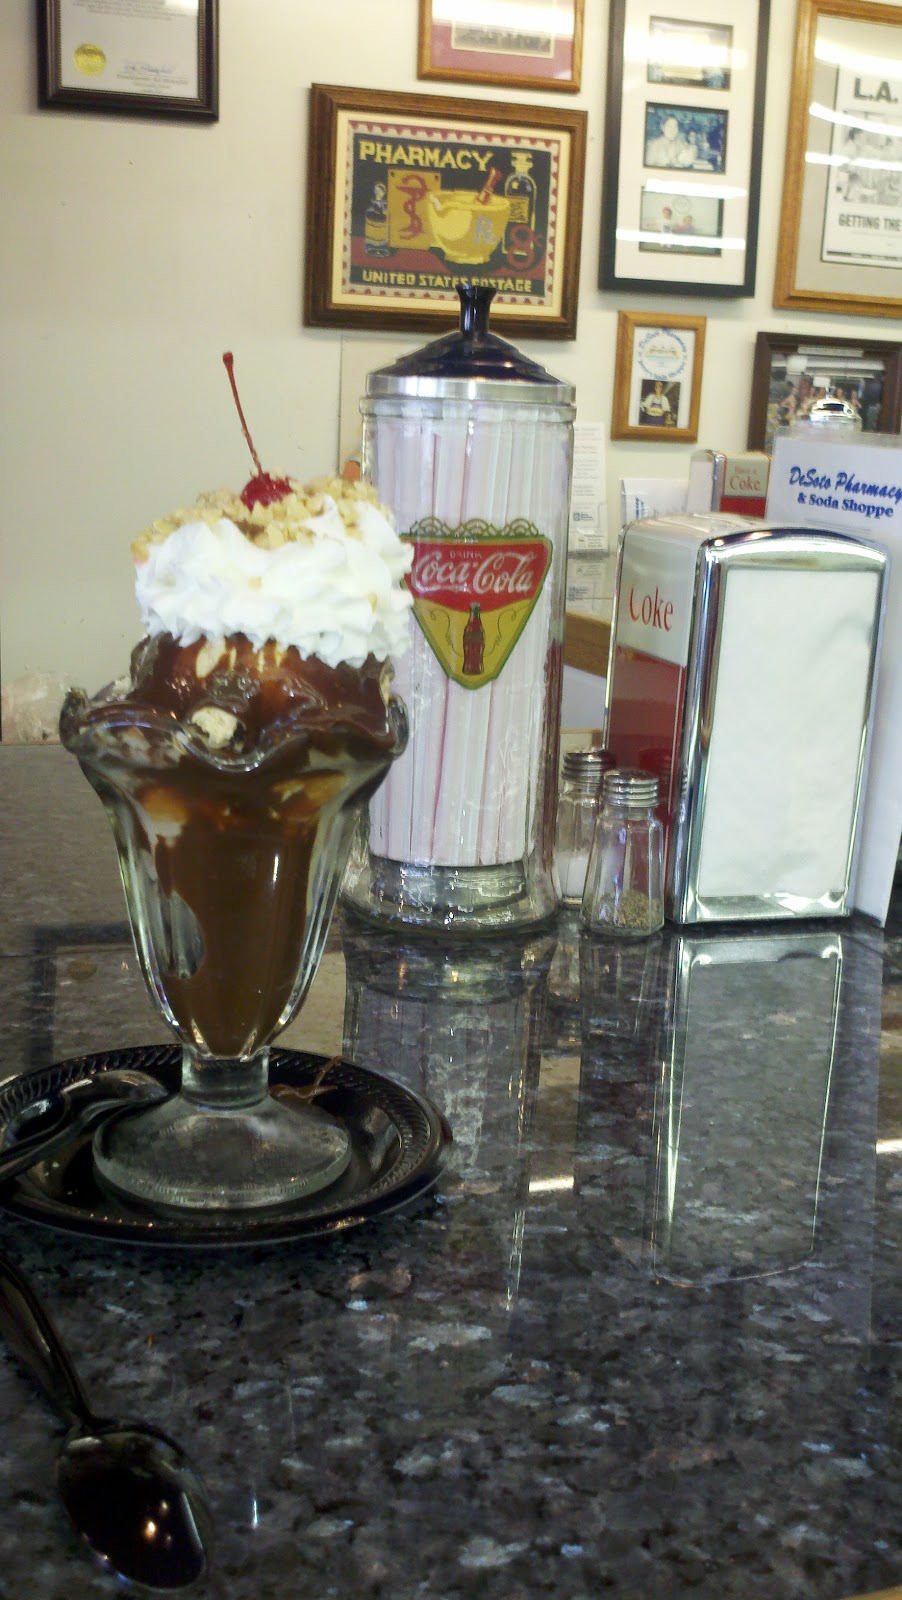
Pharmacy/Soda Shoppe Sundae nearby our house.

Today's update: Living room has been transformed!

Fast friends taking a lunch break

The working crew! (That one with the pacifier didn't really help though, he just looked cute!)

Dining area...ex-desk used as current table. Why? See next picture:

Our only moving casualty: Our dining table. Very sad about this, but handmen Z and T have grand plans  (having removed the 2 broken pillar/legs) to replace with 4x4 legs. Someday we will have this table again!

How the deliver the POD - they drive the truck on the driveway, lift it up a couple inches, use a portable dolly to hold the pod, move the truck, then lower the pod, then re-attach the dolly back to the truck. Very cool. 

Monday, July 30, 2012

July, in a nutshell

Kiddos love Uncle Zach


Major wrestling session

Pretty girl1

So THAT is where all the blueberries are going...

Blueberry picking

Ripening blueberries. So cool!

Mike's Pastry in Boston with some CA friends

Central Park with Poppi's hotel in the ground (he worked there)

Patriotic

Battery Park - Statue of Liberty

Sunday, June 3, 2012

Sew, anything new with you?

I took up a new interest in the last 2 weeks. I borrowed my Grandma's 80's (70's?) sewing machine to see if I could figure out how to use it and if owning one of my own would be worthwhile.  I started by reading the the manual far more diligently than usual...checking the name of each part/knob/dial on the machine.
 Luckly for me, there was already a threaded bobbin (not that I realized what "bobbin" meant at the time), although the thread was black and my sewing thread was white...it did help me learn how the 2 threads work together.  Oh and also, having young 31 year old eyes, I poo-poo'd the light bulb that has a power switch while going along this process.
 However, the foot pedal didn't seem to work. No worries, I hand cranked it and saw some pretty straight stiching going on on the top of my scrap fabric. I JUST SEWED A STRAIGHT LINE!  Then I turned it over and saw this:
OOPS.  Ok so I guess the power switch controls not only the lightbulb but ALSO the foot pedal.  (Despite learning the name of the "light/power switch" it took me a while to learn this lesson.)  Flash forward about 30 straight seams later, and I was loving the machine.

Then I *gasp* ran out of bobbin thread. Rereading the manual I figured out what this meant, realized the value of a bobbin (whoops may have thrown some of those away previously..."who needs these microscopic spools of thread when I have these giant spools?"  Go ahead - laugh - this really happened!!!) Back the the machine manual...I almost had to resort to Google, but I finally figured it out.  So exciting!!!

Anyhow since then, I've practiced a few more nights. I just made 18 cloth napkins out of 2 large tea towels and actually managed to make most of the hems look pretty good! And it only took an hour of sewing. Pinning was done while watching TV. (Only a "good" example is shown below.)  Now I'm not trying to go super crafty in the sewing department...I really just want to start using cloth napkins and to save money on paper napkins and paper towels.  
Anyhow, it is nice to be more comfortable with a real live sewing machine and have something to do while Zach was gone with the reserves.  If only it did not make my back hurt so much! Any other sewing stories out there?

Thursday, May 17, 2012

Turning over a new leaf, literally

Here is my second ever major attempt at gardening. The first attempt didn't end well...I think I blogged about the sorry over-the-fence basket of dead basil...but due to its lack of interest and my embarrassment, that post has been long deleted.  (Oh, you didn't know I censor old posts? All the time.)

So, I have been tempted for a while now by beautiful succulents and their itty bitty garden space.  Throw in a recent blog post from a favorite blog of mine, Kristin Eldridge, (I've also made her granola bars YUM) and I was inspired. That and finding 6 triangular candle holders for under $3 that I *thought* would be perfect for succulents. (You know, since reading a post or two made me such an expert.)

The next day, I found myself at OSH, the store that I continue to go back to despite the fact that they NEVER have everything I want...I'm not sure why. I need to work on that. Anyhow, 10 succulents later, and rocks, and seriously overpriced moss, I was on my way out the door. Mind you, not that I re-read the original blog post or anything reminding me about anything...

So I planted my succulents. It was a so-so job.  I didn't buy any extra dirt so they were still in the exact mold of that cheap plastic cup...not really doing it for me.  So after another trip to OSH (and another experience of them not having everything I wanted...seriously...a saucer for a 4" clay pot...really??) I finally had it all together. Here is the final result!
One of the things I like about the triangular holders is that I can rearrange them (i.e. remove one when I kill one of these plants)
 Aaaand, a cute little circle.
I also planted some in small vase for my Grandma on Sunday...ssshhhh its a surprise!
 Last but not least, I got this orchid at a wedding I was recently in. Its been...11 days and I haven't killed the orchid. Shocking, I know. Its even blooming more! Does anyone know how to take care of these? I think this is the variety that is supposed to be in a hanging basket, but I really have no idea.  (Anyone local want an orchid??!!)